Skip to main content
Search
Search This Blog
Wilson Burnham Guitars
Made in Taos, New Mexico
Pages
About Me
Guitars Currently Available
Guitars Currently Available at Savage Classical Guitars
Early Romantic Guitars Currently Available
Custom Grand Concert Model
Philosophy
What People Are Saying About My Guitars
My YouTube Channel
8 String "Brahms" or “Cello” Guitar
Seven String Classical Guitar
Capos/Cejillas for Sale
More…
Posts
Showing posts from 2015
Show all
December 30, 2015
On the Bench: Western White Spruce/African Rosewood Concert Guitar
December 24, 2015
A Guitar Maker's Christmas Wish List
December 17, 2015
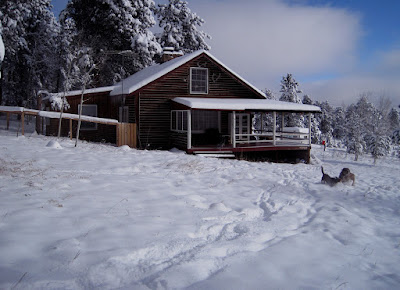
Snow, Snowshoeing and Hide Glue
December 04, 2015
How Many Guitar Making Hours in a Day?
November 28, 2015
Building an Antonio Torres SE 117 Guitar: Full Size Drawings to Start
November 19, 2015
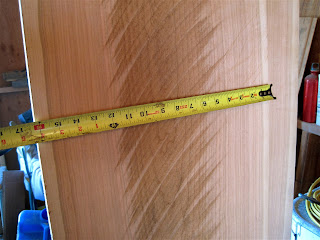
Wide Cherry Boards
November 18, 2015
What I've Learned About Woodworking - Hand Tools and Machines
November 17, 2015
Another Use for Cam Clamps
November 16, 2015
A Monumental Tree
November 08, 2015
When the Wood Tells You What to Make
November 01, 2015
Classical Guitar Necks: Black Cherry and Spanish Cedar
October 29, 2015
A New Tool Rack
October 24, 2015
Lufkin No. 386 Four Fold One Foot Ruler
October 05, 2015
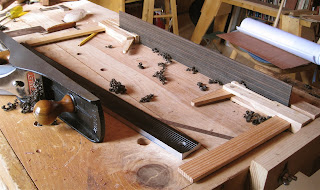
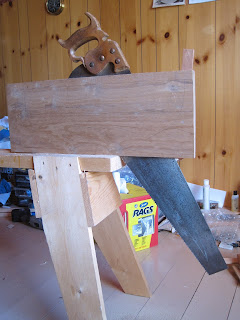
A Pepperwood Antonio Torres Style Guitar, SE 117: Re-sawing Back and Sides
Newer Posts
Older Posts
Home